In this step by step tutorial, you are going to learn everything you need to know about drawing graffiti bubble letters.
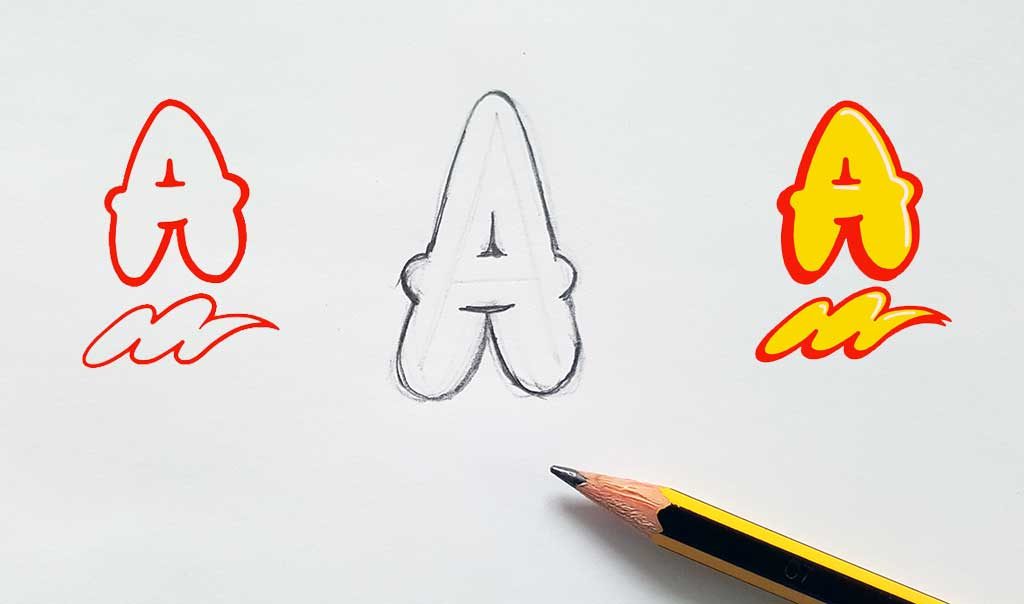
Bubble Style
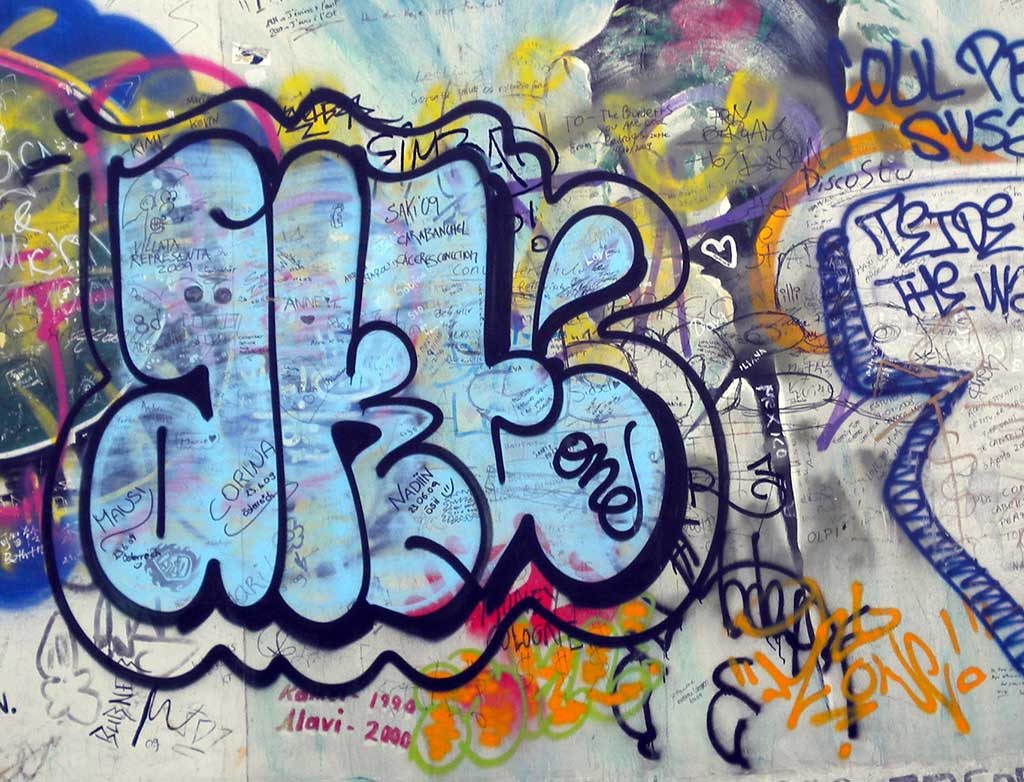
Letters in bubble-style look like they have been blown up with air – like balloons. All edges are round. This style does not leave plenty of scope for variation and creativity, but can be executed very quickly and thus is good for learning the basic design principles of drawing graffiti.
How to draw graffiti bubble letters?
Characteristics of graffiti bubble-style
- Letters are often overlapping
- There is no space between the planks of letters such as F and E
- No space between vertical planks like M, N as well
- No straight lines or right angles on any letter
- The openings within letters („eyes“ and „counters“ are synonyms) are reduced to dots and/or small lines.
- Wings, drips and underlines can optionally be used as decorative elements
- the shadows are not connected to the letters – there are no shadow blocks
1. The basic construction of bubble-style graffiti letters
Like written in my general graffiti tutorial, the process always starts with lines. Now taking all the characteristics mentioned above in consideration, we will create out first bubble letter.
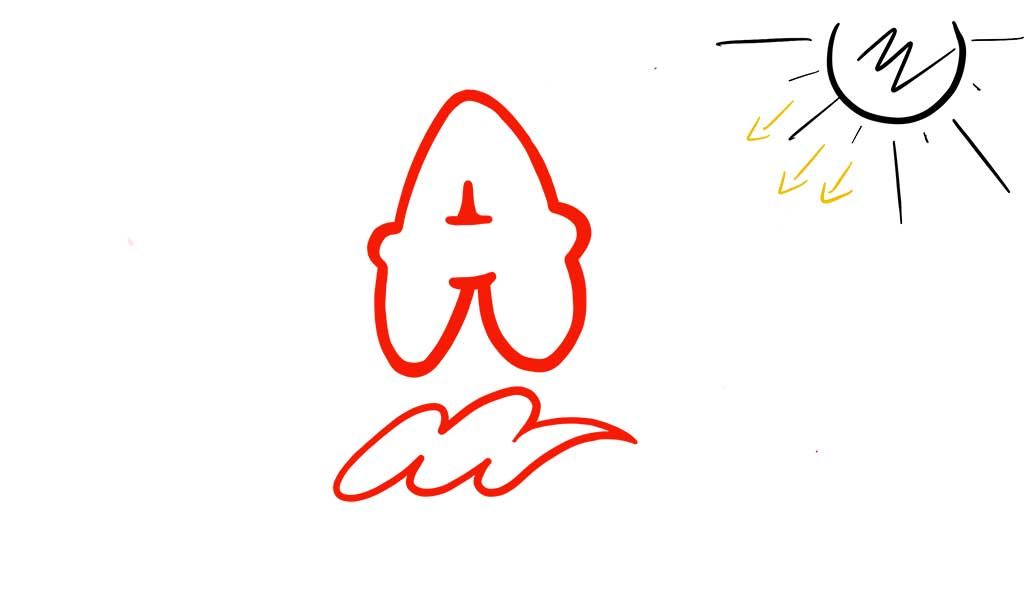
Let’s start off with an example of the letter A.
There should not be space between the letter elements. So don’t make the letter too broad. The height should be way bigger than the width.
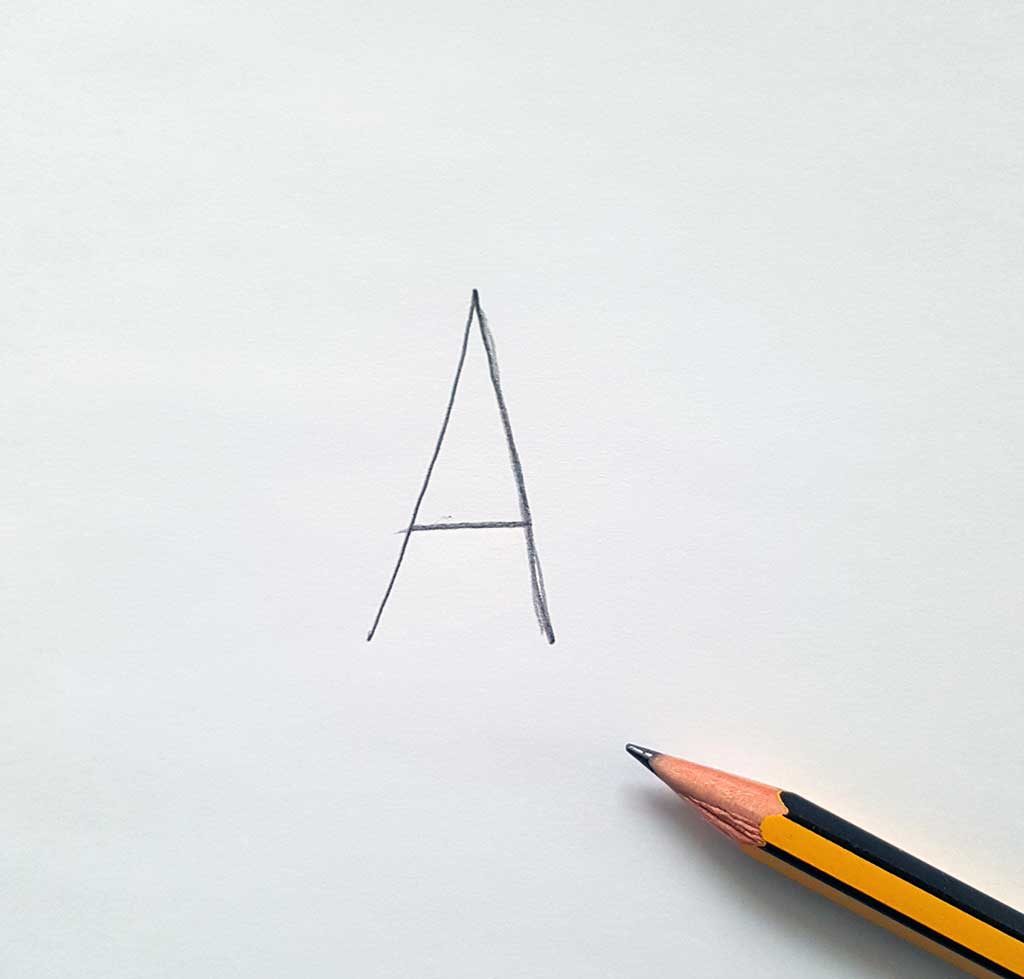
2. Add outlines of the planks
Now add the outlines to the letter. Remember to only add round edges, make the openings small and do not leave too much space between the planks!
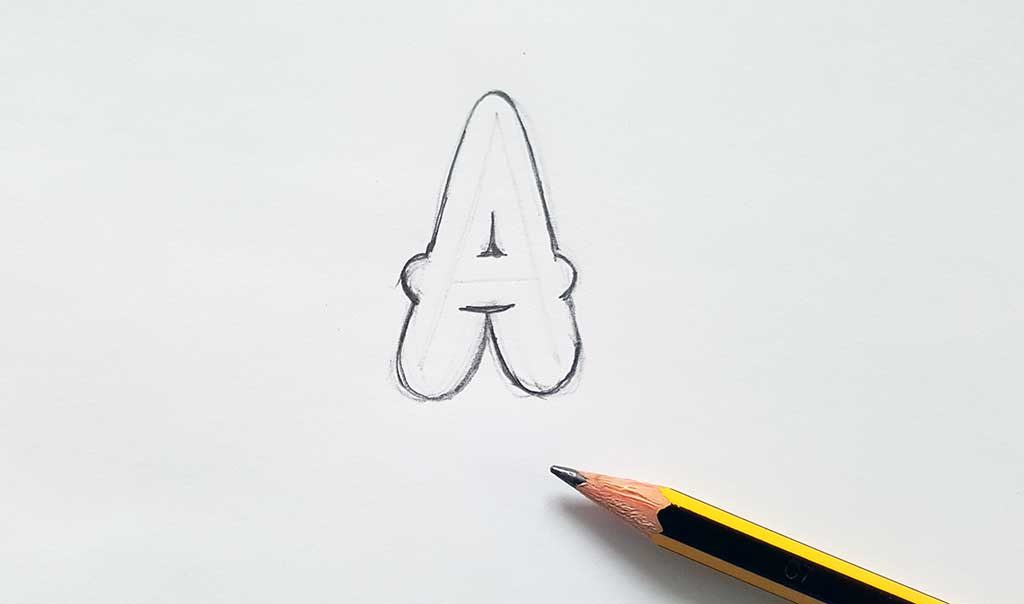
I switched to Procreate for Ipad to finish this letter and added a decorative element. You don’t have to. The same principles apply to drawing with pens.
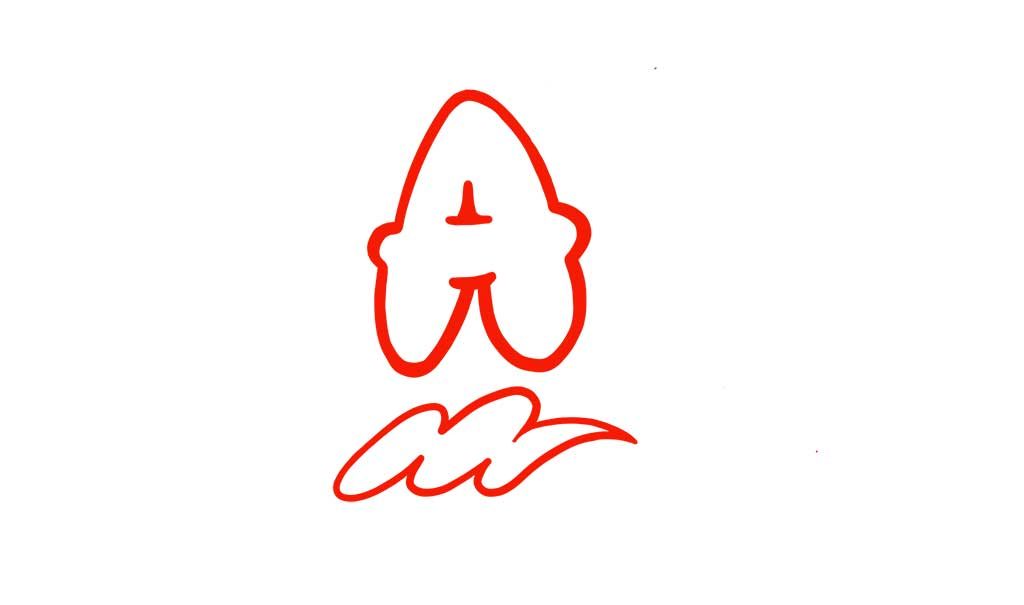
Add the shadows and highlights
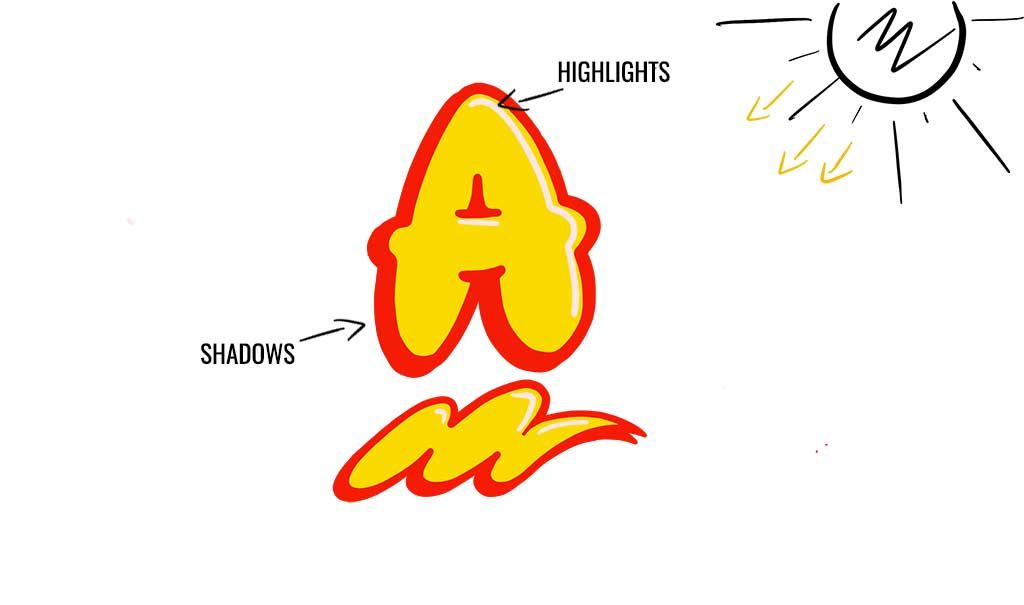
Imagine a source of light and place the shadows and the highlights on the graffiti letter corresponding to that light-source.
Like shown in the example below. If you imagine the source of light in the top right corner, you have to add the shadows to the left bottom of the letter. Therefore, you have to draw the highlights on the opposite side – to the right top of the letter.
- Add the fill-in
- Draw the shadow on the correct place – it is the outline of the letter shifted to one side
- add highlights – the white lines – on top of the fill-in of the letter. I use the Posca PC-1MR marker for adding highlights and outlines. They can be used to draw opaque on other lines and forms.
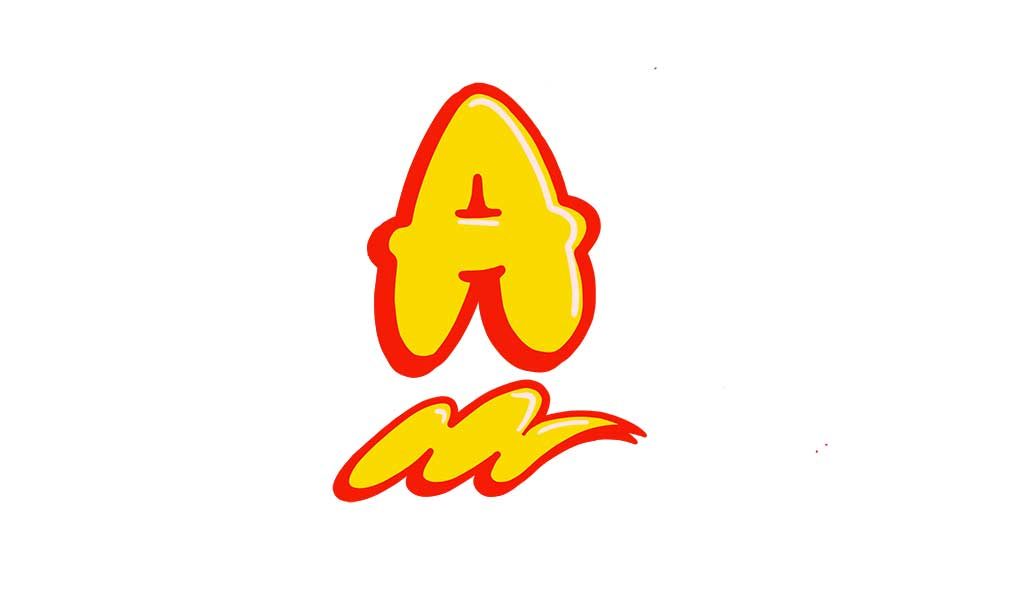
I hope this tutorial about the basics of graffiti bubble letters helped you in your creative journey!
Is there something I forgot to mention or you did not understand?
Feel free to drop a comment below.
Throw-up Graffiti Drawing
@graffitiempireofficial How to draw ✍️ "Chat" as thr0wup graffiti. Classic approach: easy to execute and in 1 color, but with lots of details, so it looks nice. 👌 #Graffiti #throwies #throwie #graffitiforyou #graffititutorial #graffititok #graffititutorials #graff #fy #fyp #drawing #draw #sketch #drawingtutorial #drawingtutorials #sketchbook #blackbook #sketching #graffitisketch #graffitimarker #drawingchallenge #drawingtips #DIY #graffitiart #graffitistyle #streetart ♬ Originalton – graffitiempireofficial
Bubble style – Graffiti Generator
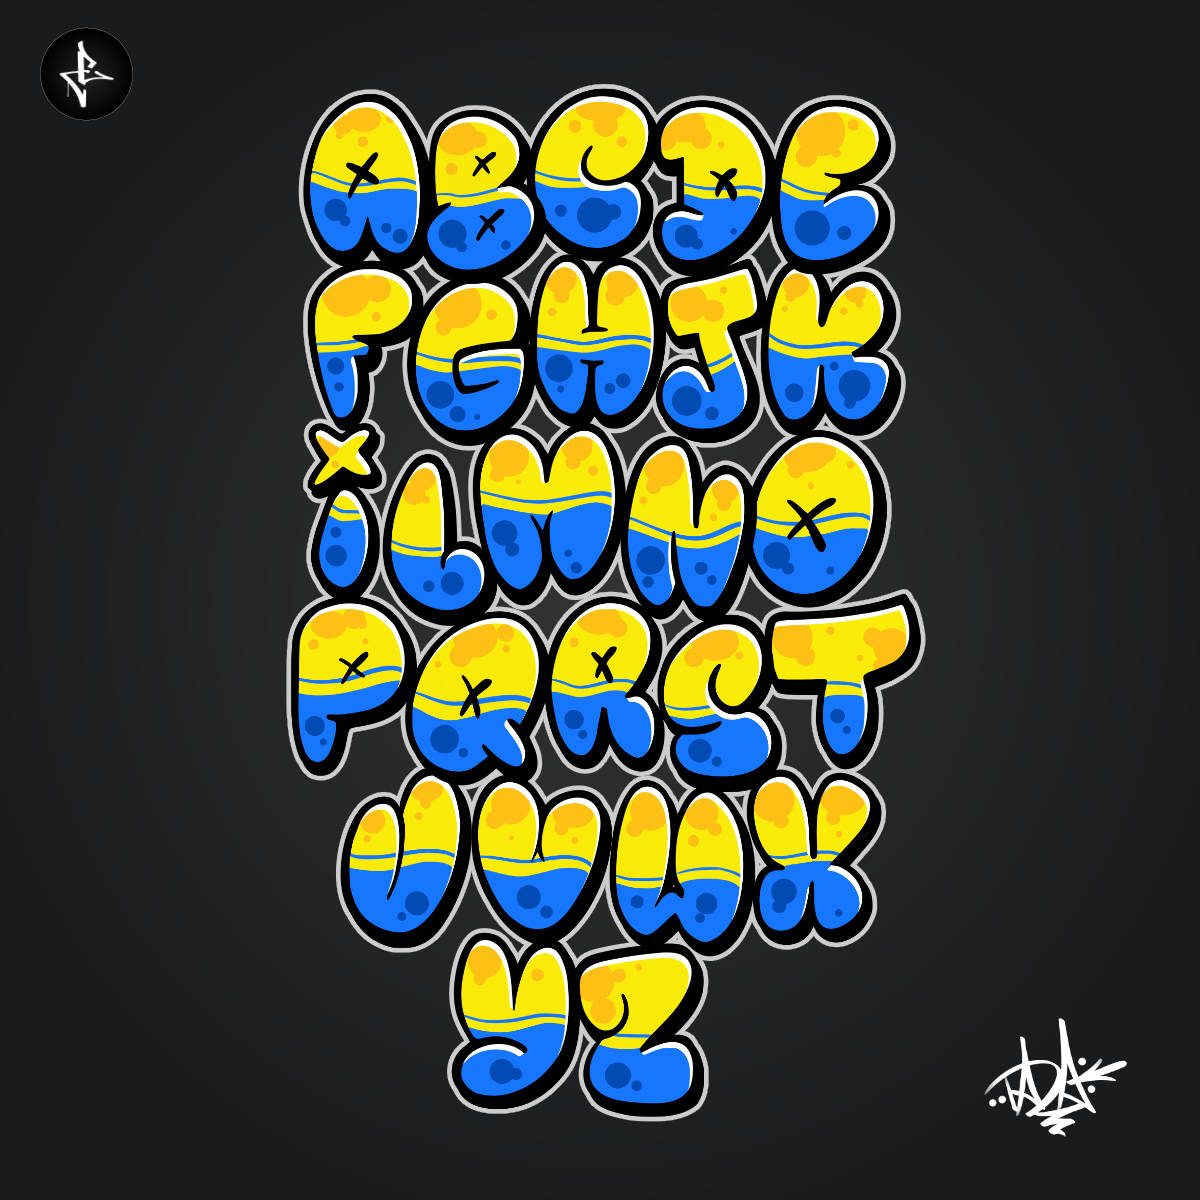
Check out the bubble styles in out graffiti generator to create your first bubble style graffiti.
Bubble style graffiti alphabet
Bubble graffiti – photos
How do they come up with this amazing art forreal.
This is fire I like this I was able to do my girlfriends name in graffiti
love this generator is great
this is fire y’all.
Man this is dope but can you do a video of the process?
love every thing but can you add more syles please
Can you teach all letter A-Z
You can get the concept on how to draw the letters on every letter-page like https://www.graffiti-empire.com/graffiti-letters/graffiti-letter-a/ and there is a bubble style graffiti alphabet on the overview-page of graffiti letters.